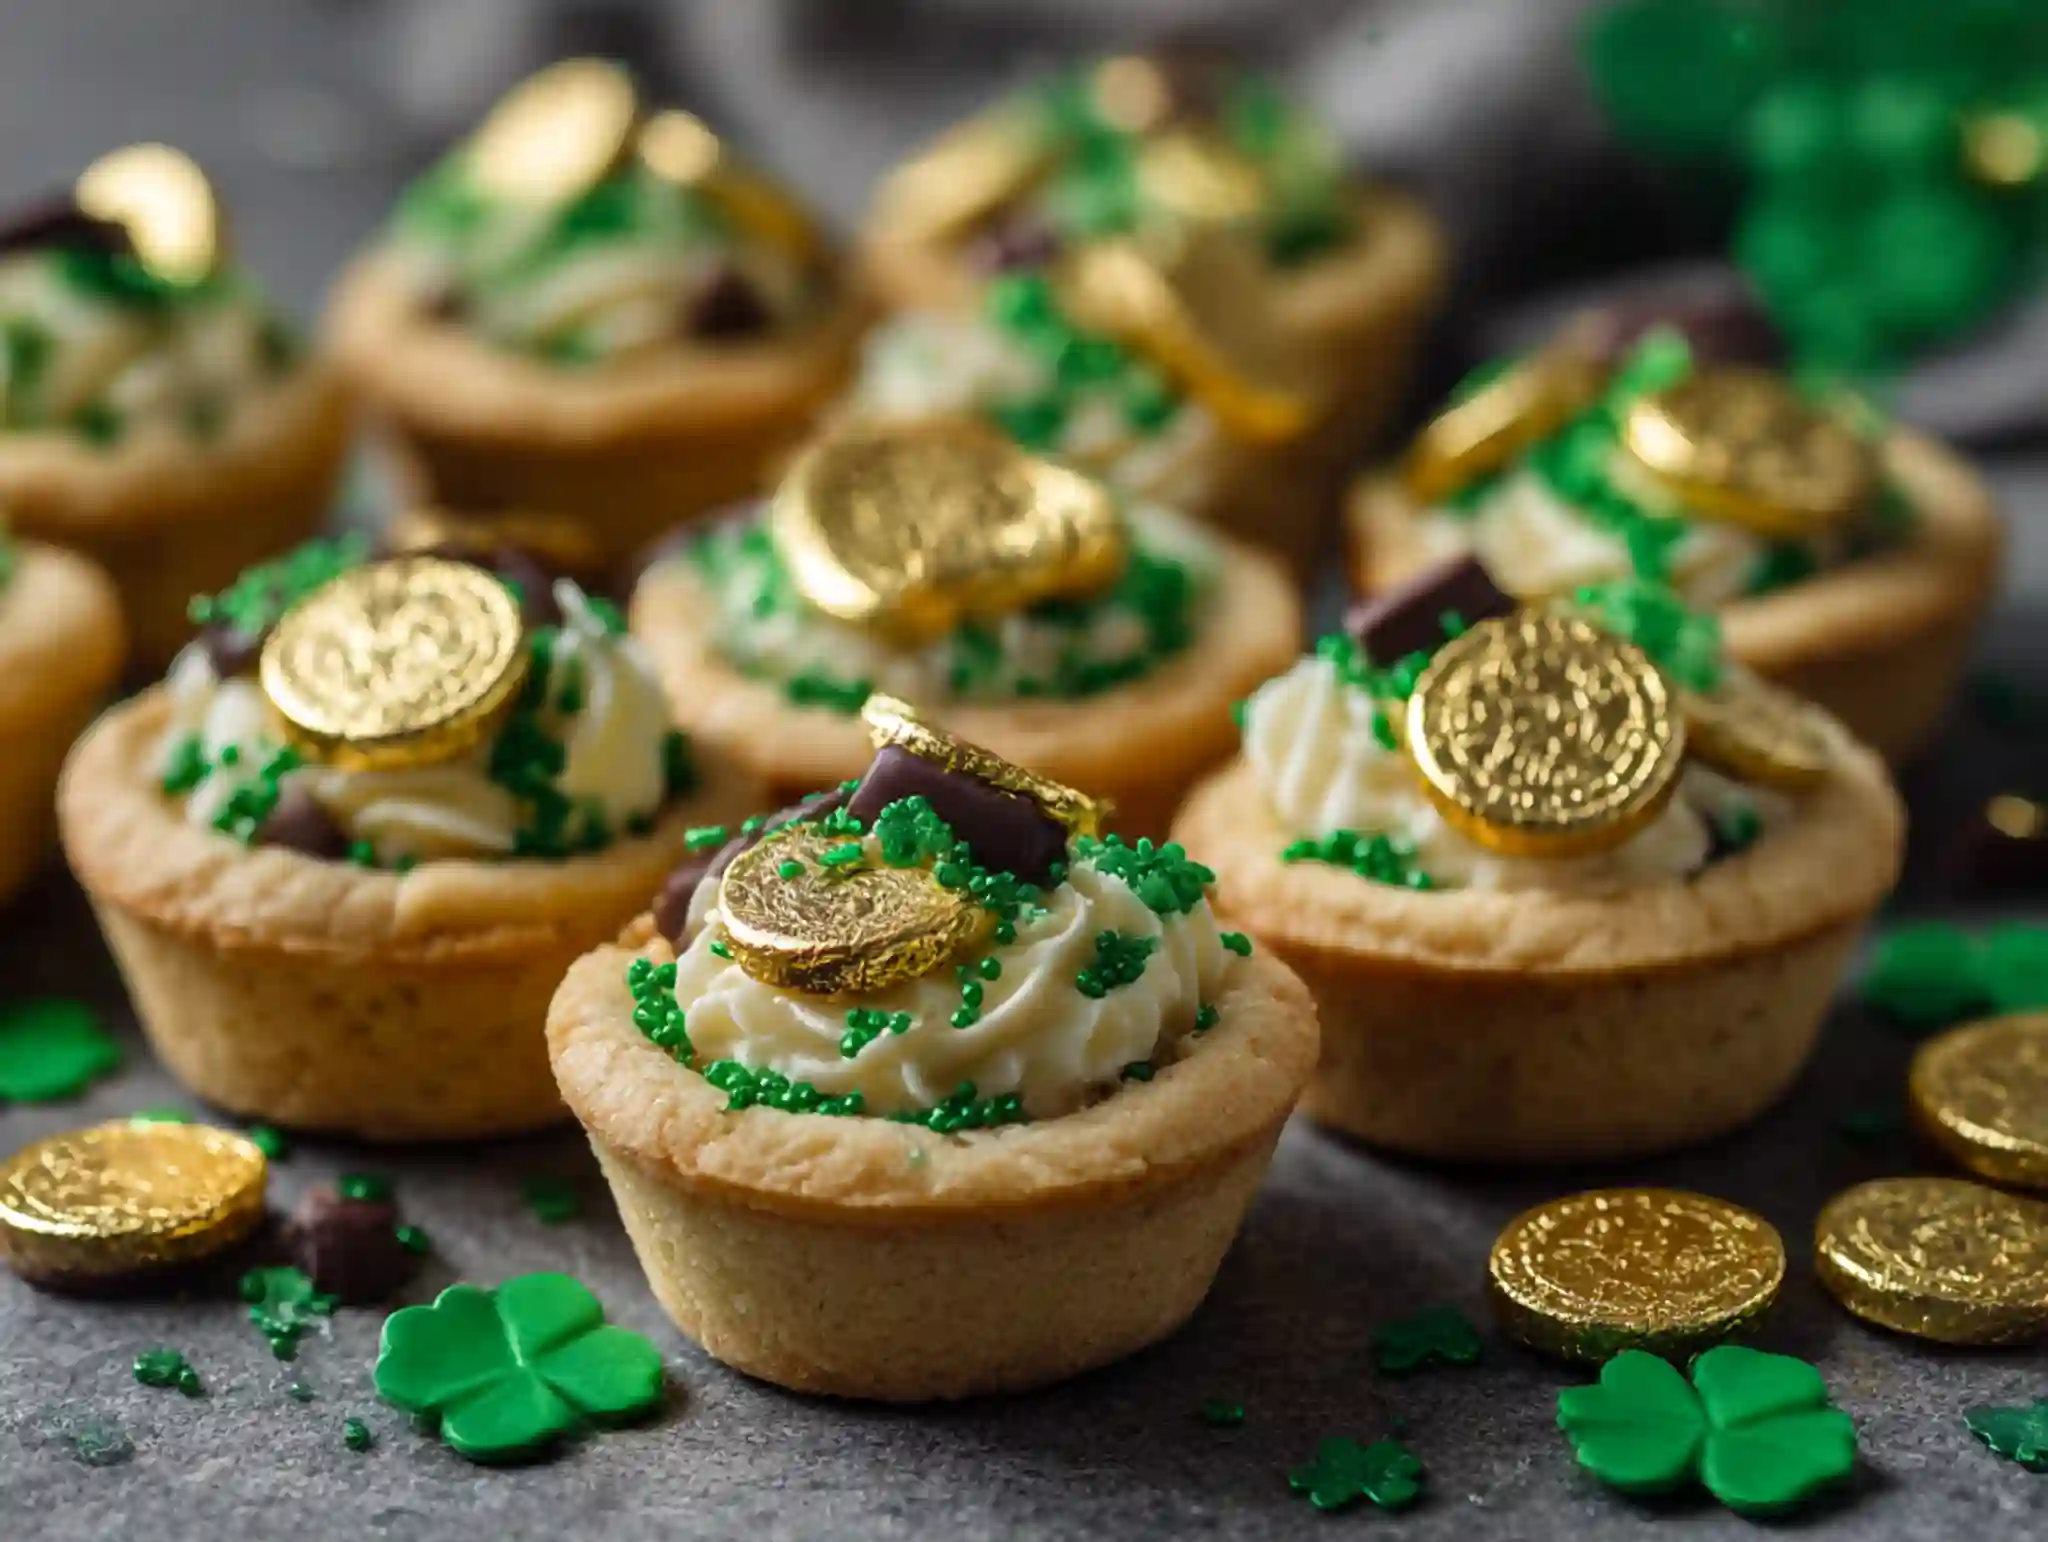
If you’re looking for a festive St. Patrick’s Day dessert that’s fun, colorful, and guaranteed to make kids smile, these Pot of Gold Cookie Cups are the perfect treat. Soft sugar cookie cups baked into bite-sized “pots” are filled with cheerful yellow frosting and topped with shiny candy gold, creating a whimsical dessert that feels like discovering a little treasure. They’re easy to make, adorable to serve, and ideal for parties, classroom treats, or holiday baking with kids.
Why You’ll Love These Pot of Gold Cookie Cups
These cookie cups check all the boxes for a family-friendly holiday dessert. They’re simple enough for beginner bakers, yet impressive enough to steal the show on a dessert table. Kids love the bright colors and surprise candy center, while parents appreciate how customizable and mess-free they are.
They’re also:
- Perfectly portioned and easy to grab
- Festive without being overly sweet
- Great for make-ahead party prep
- Easy to customize with different toppings
Whether you’re celebrating St. Patrick’s Day or just want a fun baking project, these cookie cups are a guaranteed hit.
Ingredients You’ll Need
To make these festive cookie cups, you’ll need a handful of simple baking staples:
- 2 large eggs
- 1 tsp baking soda
- 1 pinch salt
- 1 tsp fine sea salt
- 1½ tbsp pure vanilla extract
- Green food coloring
- 2 tbsp heavy cream or whole milk
- Sugar cookie dough (homemade or refrigerated)
- Yellow frosting (store-bought or homemade)
- 24 gold foil-wrapped chocolate coins
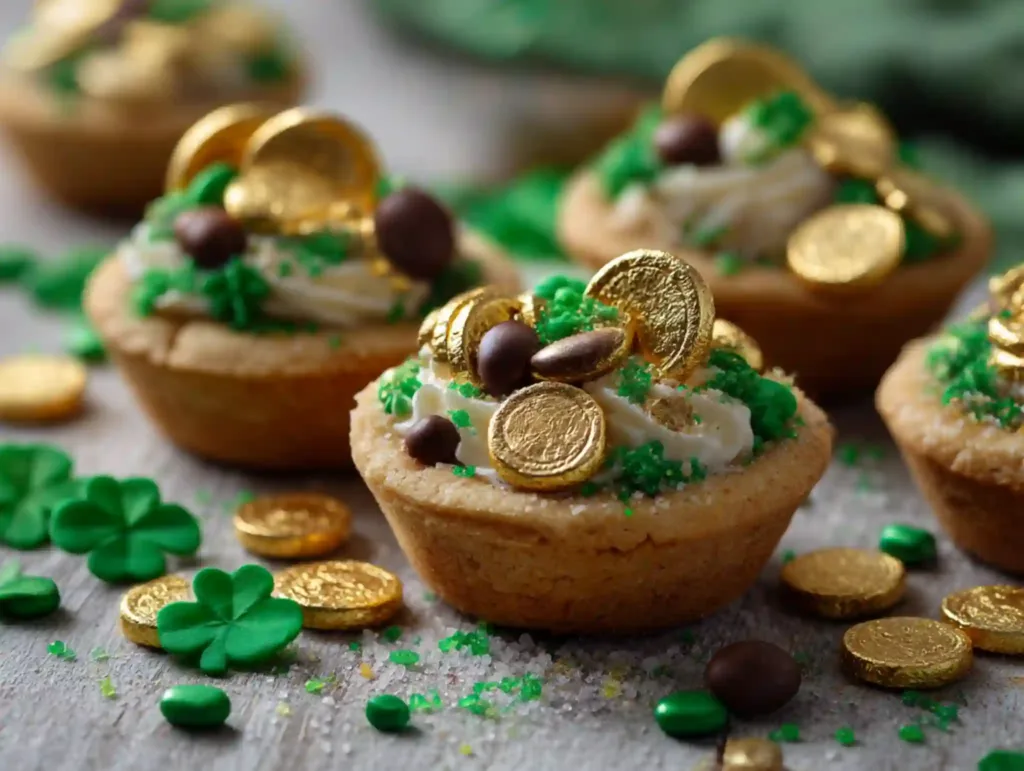
Optional toppings: Rolos, gold sprinkles, or candy-coated chocolates
How to Make Pot of Gold Cookie Cups (Step-by-Step)
Step 1: Prepare the Oven and Pan
Preheat your oven according to the sugar cookie dough instructions. Lightly grease a mini muffin tin so the cookie cups release easily after baking.
Step 2: Make the Cookie Dough
In a mixing bowl, combine the sugar cookie dough with eggs, baking soda, salt, vanilla extract, and heavy cream or milk. Mix until smooth. Add a small drop of green food coloring and stir gently until the dough reaches a soft pastel green.
Step 3: Shape the Cookie Cups
Roll dough into small balls and press them into the muffin tin cavities. Press the centers slightly to help form the “cup” shape.
Step 4: Bake
Bake until the edges are lightly golden and the centers are set. Remove from the oven and allow to cool slightly. If needed, gently press the center again using the back of a spoon to deepen the cup.
Step 5: Cool and Fill
Once fully cooled, spoon or pipe yellow frosting into each cookie cup.
Step 6: Add the Gold
Top each cup with a gold chocolate coin, Rolos, or gold sprinkles to complete the “pot of gold” look.

Tips & Variations
- No food coloring? Leave it out for classic sugar cookie cups
- Different filling: Try vanilla pudding or white chocolate ganache
- Extra texture: Add crushed candy pieces under the frosting
- Dairy-free option: Use dairy-free milk and frosting
- Party shortcut: Use refrigerated cookie dough to save time
Serving Ideas & Storage
Serve these Pot of Gold Cookie Cups on a green platter with rainbow decorations for a festive display. They’re perfect alongside milk, hot cocoa, or fruit punch for kids’ parties.
Storage:
Store unfrosted cookie cups in an airtight container at room temperature for up to 3 days. Frosted cups should be stored in the refrigerator and enjoyed within 2 days for best texture.

Easy Pot of Gold Cookie Cups for Kids
- Total Time: 25 minutes
- Yield: 24 cookie cups 1x
- Diet: Vegetarian
Description
Pot of Gold Cookie Cups are a fun St. Patrick’s Day kids treat made with soft sugar cookie cups filled with yellow frosting (or candy “gold”) and topped with shiny gold chocolate coins. Cute, bite-sized, and perfect for parties or classroom treats.
Ingredients
Sugar cookie dough (homemade or refrigerated)
2 large eggs
1 tsp baking soda
1 pinch salt
1 tsp fine sea salt
1 1/2 tbsp pure vanilla extract
Green food coloring (optional)
2 tbsp heavy cream or whole milk
Yellow frosting (store-bought or homemade)
24 gold foil-wrapped chocolate coins
Optional: Rolos and/or gold sprinkles
Instructions
1. Preheat the oven according to your sugar cookie dough instructions. Lightly grease a mini muffin tin.
2. In a mixing bowl, combine sugar cookie dough with eggs, baking soda, salt, sea salt, vanilla, and heavy cream (or milk). Mix until smooth.
3. Add a tiny drop of green food coloring and mix until the dough is lightly tinted (optional).
4. Roll dough into small balls and press into each mini muffin cup, pressing slightly in the center to form a cup shape.
5. Bake until the edges are lightly golden and the centers are set (follow dough package timing if using refrigerated dough).
6. Let cool 5–10 minutes, then gently press centers again with the back of a teaspoon if they puffed up. Cool completely.
7. Fill each cookie cup with yellow frosting (spoon or pipe it in).
8. Top with a gold chocolate coin. Add Rolos or gold sprinkles if desired. Serve and enjoy.
Notes
Kid-friendly shortcut: refrigerated sugar cookie dough works great.
No food coloring? Skip it for classic cookie cups.
Filling ideas: vanilla pudding, white chocolate chips, or yellow candy melts.
Storage: store unfrosted cups airtight at room temp up to 3 days; frosted cups refrigerate and enjoy within 2 days.
- Prep Time: 15 minutes
- Cook Time: 10 minutes
- Category: Dessert
- Method: Baking
- Cuisine: American
Nutrition
- Serving Size: 1 cookie cup
- Calories: 180
- Sugar: 14g
- Sodium: 120mg
- Fat: 8g
- Saturated Fat: 4g
- Unsaturated Fat: 3g
- Trans Fat: 0g
- Carbohydrates: 24g
- Fiber: 1g
- Protein: 2g
- Cholesterol: 20mg
Nutrition Facts (Per Serving – Approximate)
| Nutrient | Amount |
|---|---|
| Calories | 180 |
| Protein | 2g |
| Carbohydrates | 24g |
| Fat | 8g |
| Fiber | 1g |
| Sodium | 120mg |
Final Thoughts
These Pot of Gold Cookie Cups are proof that holiday baking doesn’t need to be complicated to be memorable. With their soft cookie base, creamy filling, and shiny candy topping, they’re a magical little treat kids absolutely adore. Whether you’re baking for a party or just for fun, this recipe brings a little luck and a lot of smiles to the table.