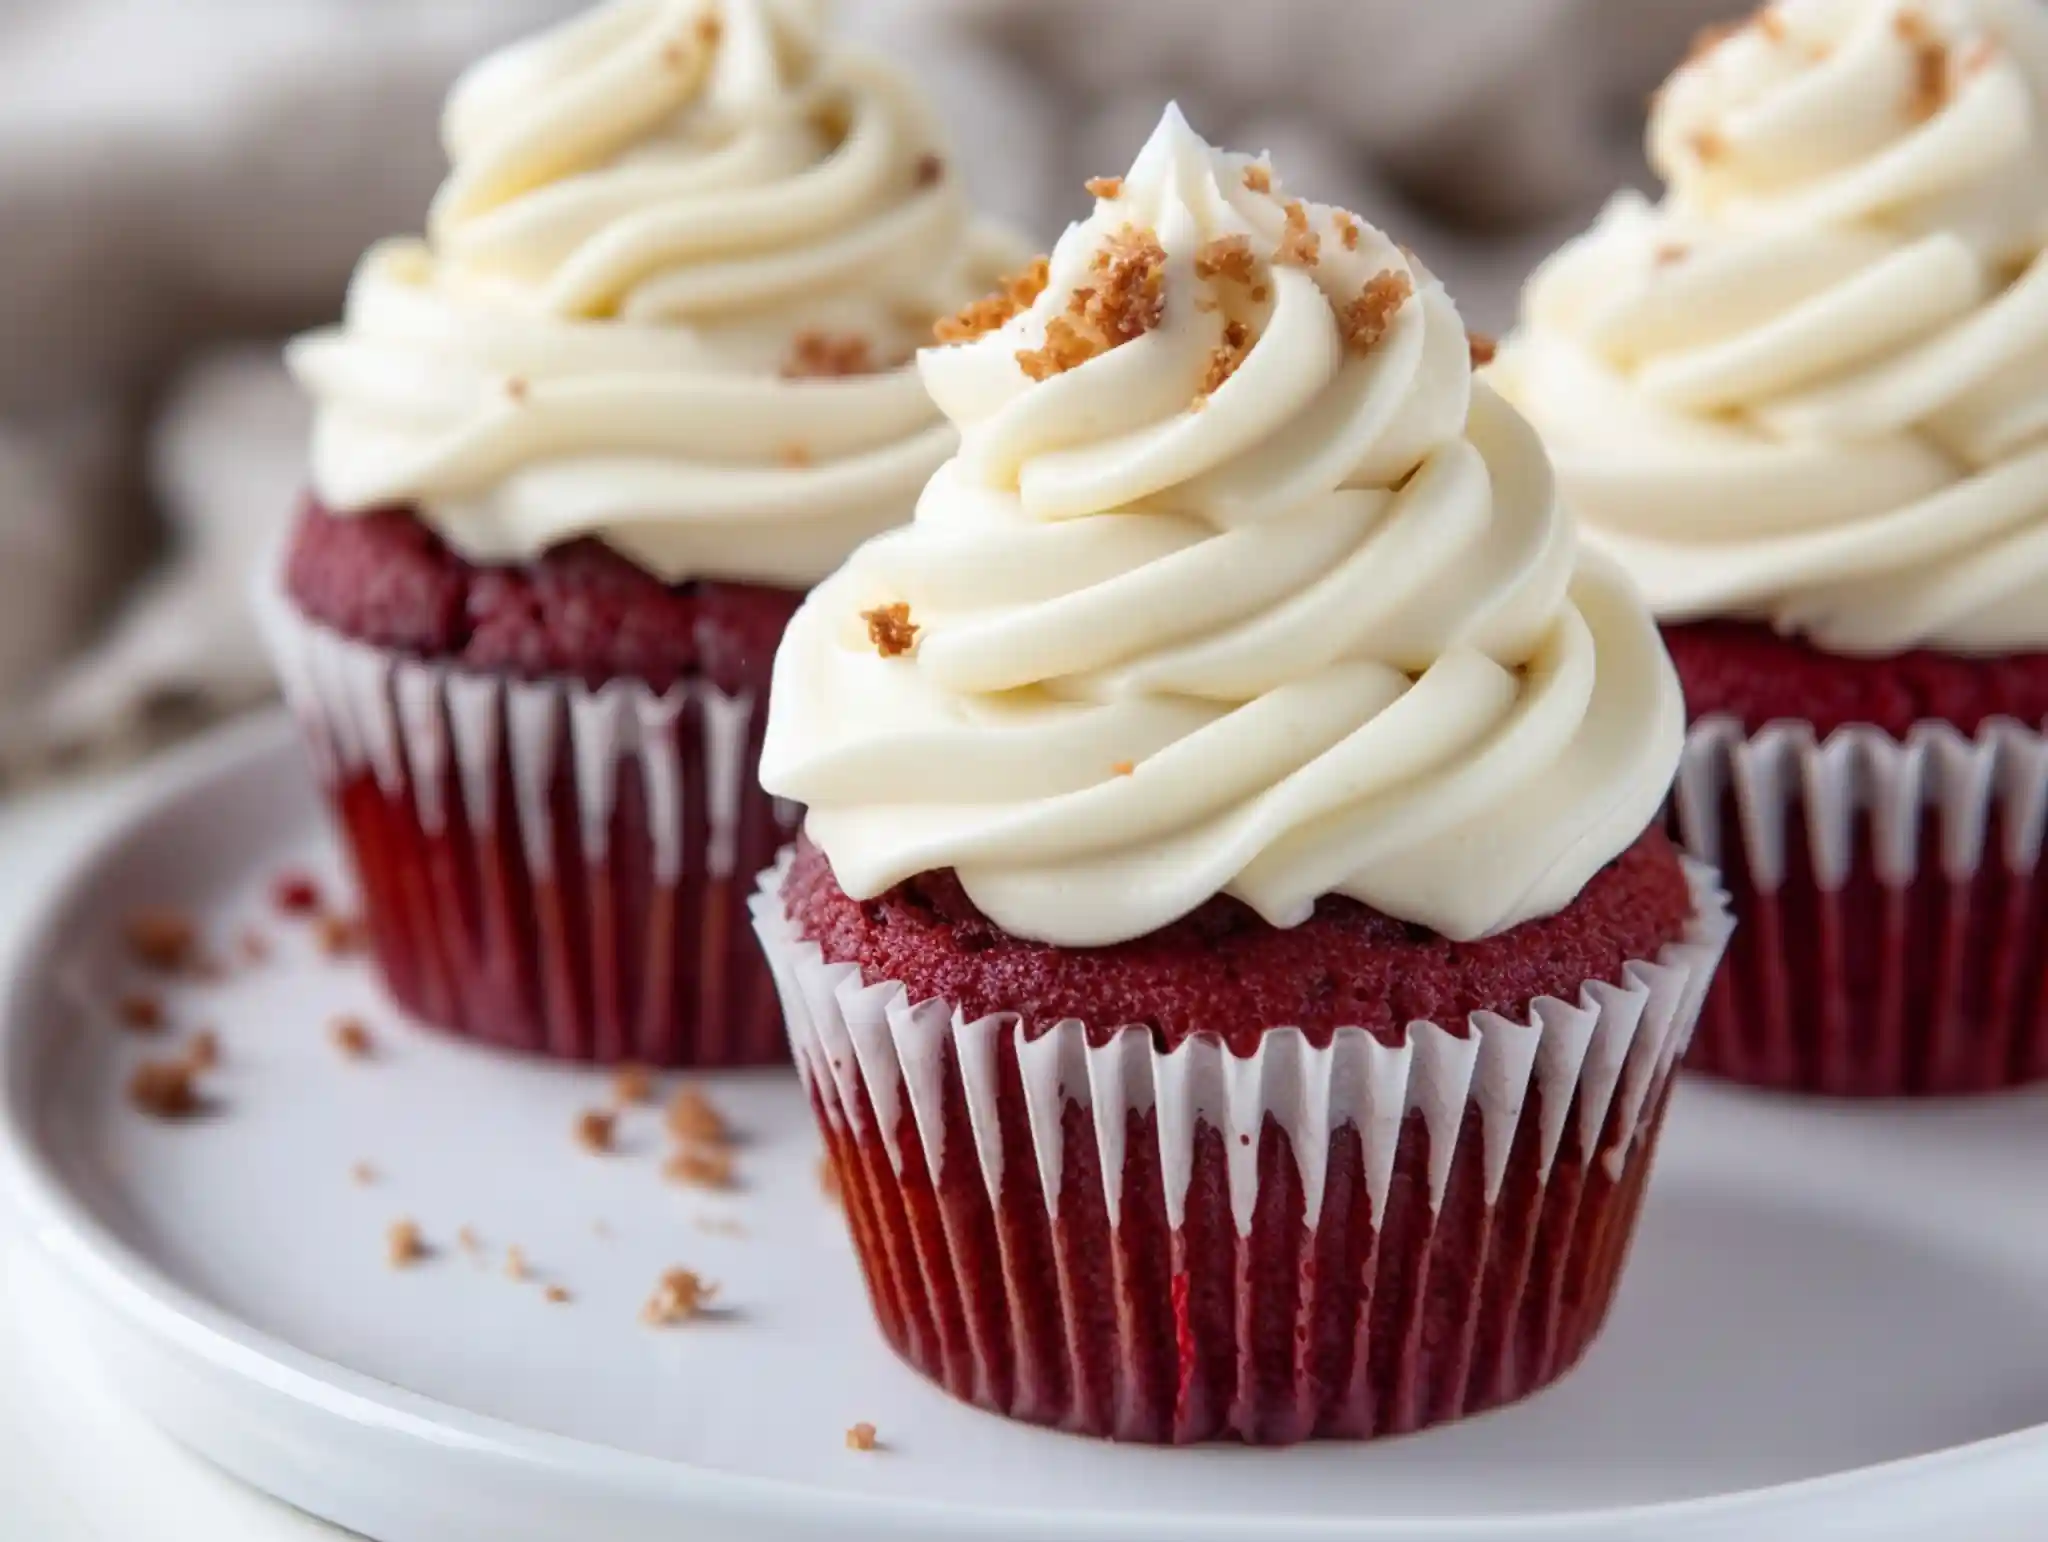
Red Velvet Cupcakes are a timeless dessert loved for their soft texture, light cocoa flavor, and rich cream cheese topping. Whether you’re baking for a celebration or simply craving something sweet, these cupcakes bring elegance and comfort to every bite.
❤️ Why You’ll Love This Red Velvet Cupcakes Recipe
These cupcakes are incredibly moist thanks to the perfect balance of oil and buttermilk, giving them that signature velvety crumb. The hint of cocoa adds depth without overpowering the flavor, while the cream cheese frosting provides a smooth, tangy contrast. They’re easy to make, visually stunning, and always a crowd-pleaser—perfect for birthdays, holidays, or weekend baking.
🧾 Ingredients You’ll Need
For the Cupcakes:
- 1 1/2 cups all-purpose flour
- 1 cup granulated sugar
- 1 teaspoon baking soda
- 1 teaspoon cocoa powder
- 1/2 teaspoon salt
- 1 cup vegetable oil
- 1 cup buttermilk, at room temperature
- 2 large eggs, at room temperature
- 2 tablespoons red food coloring
- 1 teaspoon vanilla extract
- 1 teaspoon white vinegar
For the Cream Cheese Frosting:
- 8 ounces cream cheese, softened
- 1/2 cup unsalted butter, softened
- 4 cups powdered sugar
- 1 teaspoon vanilla extract
- 1–2 tablespoons milk (as needed)
👩🍳 How to Make Red Velvet Cupcakes (Step-by-Step)
Step 1: Prepare Your Oven
Preheat your oven to 175°C (350°F) and line a cupcake pan with paper liners.
Step 2: Mix the Dry Ingredients
In a bowl, whisk together flour, sugar, baking soda, cocoa powder, and salt until evenly combined.
Step 3: Combine the Wet Ingredients
In another bowl, mix vegetable oil, buttermilk, eggs, red food coloring, vanilla extract, and vinegar until smooth.
Step 4: Create the Batter
Gradually add the wet mixture into the dry ingredients, stirring gently until a smooth batter forms. Avoid overmixing.
Step 5: Bake the Cupcakes
Divide the batter evenly into the cupcake liners, filling each about 2/3 full. Bake for 18–22 minutes, or until a toothpick inserted in the center comes out clean.
Step 6: Cool Completely
Allow the cupcakes to cool in the pan for a few minutes, then transfer them to a wire rack to cool completely before frosting.
Step 7: Make the Frosting
Beat the cream cheese and butter together until smooth and creamy. Gradually add powdered sugar, then mix in vanilla extract. Add milk as needed to reach your desired consistency.
Step 8: Frost and Serve
Pipe or spread the frosting onto the cooled cupcakes. Serve immediately or store for later.
✨ Tips & Variations
- Don’t skip the vinegar: It reacts with baking soda for a lighter texture
- Room temperature ingredients: Helps create a smooth, even batter
- Natural coloring option: Use beet powder for a more natural red tone
- Mini cupcakes: Reduce baking time to about 10–12 minutes
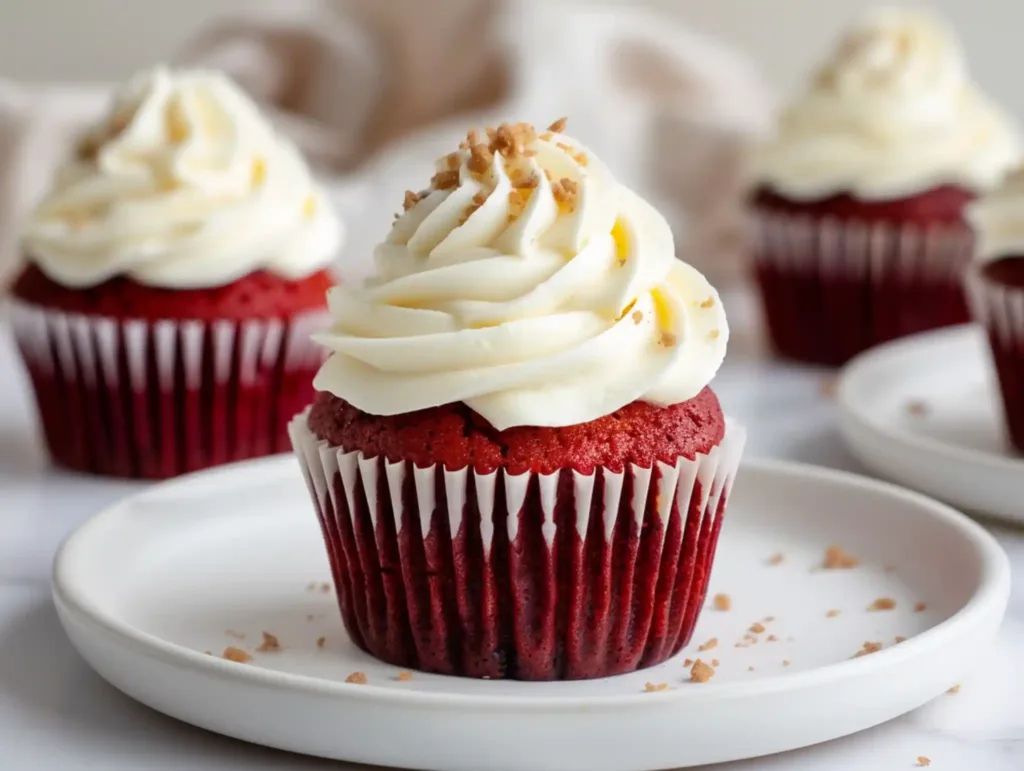
- Extra decoration: Add cake crumbs or sprinkles on top for a bakery-style finish

🍽️ Serving Ideas & Storage
Serve these Red Velvet Cupcakes with a glass of cold milk or a warm cup of tea for a cozy treat. They also make a beautiful addition to dessert tables at parties and celebrations.
Store cupcakes in an airtight container in the refrigerator for up to 4 days. Before serving, let them sit at room temperature for about 15 minutes for the best flavor and texture. You can also freeze unfrosted cupcakes for up to 2 months.
Print
Easy Red Velvet Cupcakes with Cream Cheese Frosting
- Total Time: 40 minutes
- Yield: 12 cupcakes 1x
- Diet: Vegetarian
Description
Moist red velvet cupcakes with a rich cocoa flavor topped with smooth cream cheese frosting for a classic, elegant dessert that’s perfect for celebrations or sweet cravings.
Ingredients
For the Cupcakes:
1 1/2 cups all-purpose flour
1 cup granulated sugar
1 teaspoon baking soda
1 teaspoon cocoa powder
1/2 teaspoon salt
1 cup vegetable oil
1 cup buttermilk, at room temperature
2 large eggs, at room temperature
2 tablespoons red food coloring
1 teaspoon vanilla extract
1 teaspoon white vinegar
For the Cream Cheese Frosting:
8 ounces cream cheese, softened
1/2 cup unsalted butter, softened
4 cups powdered sugar
1 teaspoon vanilla extract
1–2 tablespoons milk (as needed for consistency)
Instructions
1. Preheat the oven to 350°F (175°C) and line a cupcake pan with paper liners.
2. In a medium bowl, whisk together the flour, sugar, baking soda, cocoa powder, and salt.
3. In a separate large bowl, whisk together the vegetable oil, buttermilk, eggs, red food coloring, vanilla extract, and white vinegar until smooth.
4. Gradually add the dry ingredients to the wet ingredients and mix until just combined.
5. Divide the batter evenly into the cupcake liners, filling each about 2/3 full.
6. Bake for 18 to 22 minutes, or until a toothpick inserted into the center comes out clean.
7. Let the cupcakes cool in the pan for 5 minutes, then transfer to a wire rack to cool completely.
8. To make the frosting, beat the cream cheese and butter until smooth and creamy.
9. Gradually add the powdered sugar, then mix in the vanilla extract. Add milk as needed for a smooth, spreadable consistency.
10. Pipe or spread the frosting over the cooled cupcakes and serve.
Notes
Use room temperature buttermilk and eggs for the best texture.
Do not overmix the batter or the cupcakes may become dense.
Cool the cupcakes completely before frosting.
Store frosted cupcakes in an airtight container in the refrigerator for up to 4 days.
Bring refrigerated cupcakes to room temperature before serving for the best flavor.
- Prep Time: 20 minutes
- Cook Time: 20 minutes
- Category: Dessert
- Method: Baking
- Cuisine: American
Nutrition
- Serving Size: 1 cupcake
- Calories: 320
- Sugar: 29g
- Sodium: 210mg
- Fat: 18g
- Saturated Fat: 6g
- Unsaturated Fat: 10g
- Trans Fat: 0g
- Carbohydrates: 38g
- Fiber: 1g
- Protein: 3g
- Cholesterol: 45mg
📊 Nutrition Facts (Per Serving)
| Nutrient | Amount |
|---|---|
| Calories | 320 |
| Protein | 3g |
| Carbs | 38g |
| Fat | 18g |
| Fiber | 1g |
| Sodium | 210mg |
💬 Final Thoughts
These Red Velvet Cupcakes are a perfect blend of classic flavor and homemade charm. With their soft crumb and creamy frosting, they’re guaranteed to impress anyone who takes a bite. Whether you’re baking for loved ones or treating yourself, this recipe is one you’ll come back to again and again.